 By
By 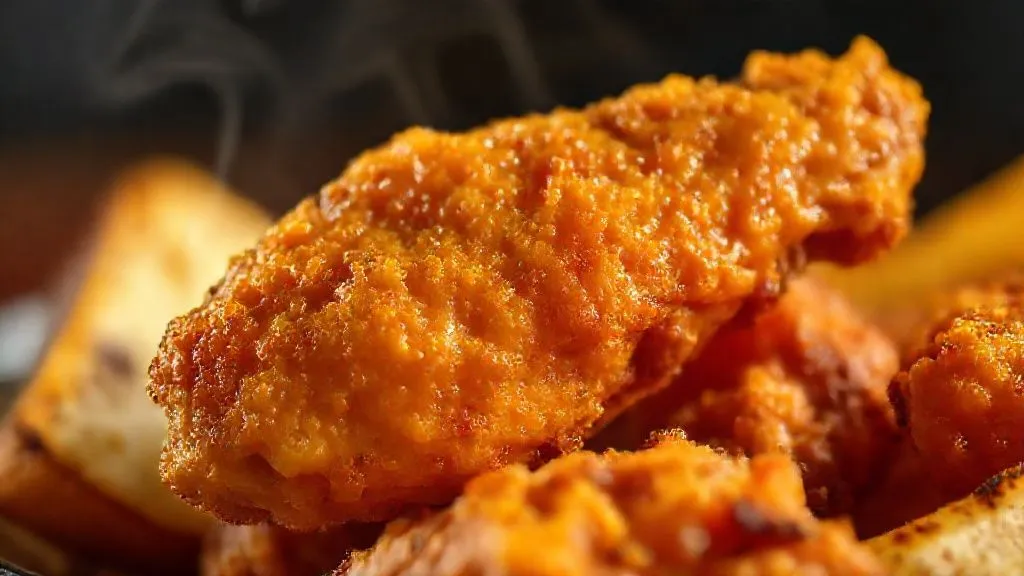
Why do my 'easy air fryer' recipes lack professional crispness?
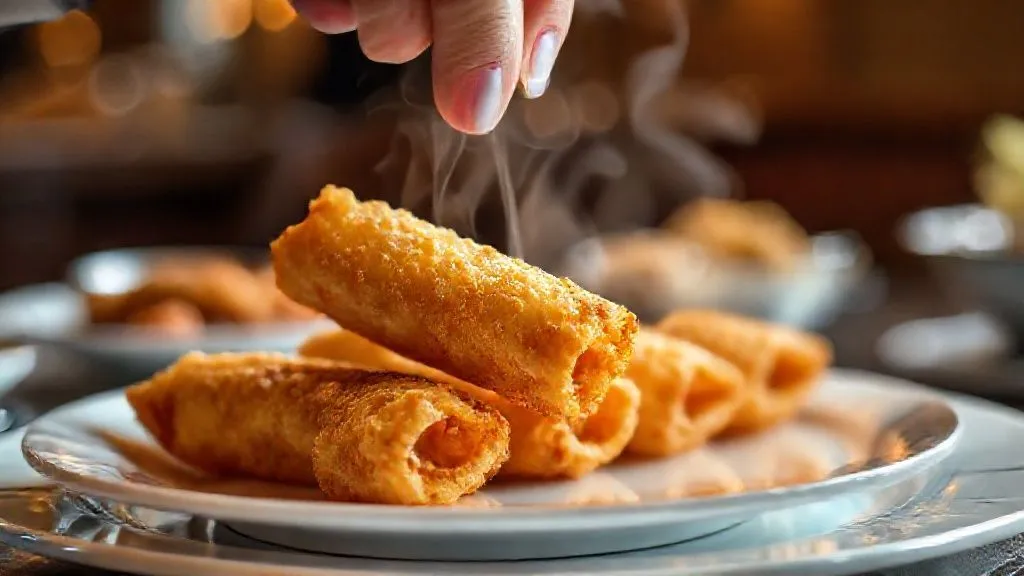
For over 15 years in the culinary world, specializing in innovative kitchen tech, I've seen countless home cooks embrace the air fryer with enthusiasm, only to be met with a frustrating question: why doesn't their food achieve that restaurant-quality, professional crispness? You follow the 'easy air fryer' recipes to the letter, yet your fries are limp, your chicken skin is chewy, and your vegetables are just... roasted, not crisped.
This isn't a reflection of your cooking skills, but often a misunderstanding of the fundamental science and nuanced techniques behind achieving true air-fried perfection. The promise of an 'easy air fryer' can sometimes overshadow the critical details that elevate a dish from good to genuinely great.
In this definitive guide, I'll pull back the curtain on the common pitfalls and reveal the expert strategies to transform your air fryer results. We'll delve into airflow, moisture management, precise temperature control, and even post-cooking care, providing you with actionable frameworks and insights to master the art of air fryer crispness once and for all.
The Unsung Hero: Understanding Airflow and Overcrowding
At its core, an air fryer is a powerful convection oven in miniature. It circulates superheated air around your food, creating a Maillard reaction on the surface that leads to browning and crisping. However, this entire process hinges on one critical factor: unimpeded airflow. Without proper air circulation, your food will steam, not crisp, leading to that disappointing lack of crunch.
The Science of Convection in Your Air Fryer
Think of the air fryer as a miniature tornado of heat. Hot air rises, cools, falls, and is reheated, creating a continuous loop. This constant movement of hot air strips away moisture from the food's surface, concentrating its flavors and developing a crispy crust. When this airflow is blocked, the process breaks down.
I often tell my students that the air fryer's effectiveness is directly proportional to the air's ability to touch every surface of the food. If the air can't get to it, it can't crisp it. It's that simple, yet profoundly overlooked.
The Perils of Overcrowding: Why Less is More
This is arguably the single biggest mistake I see home cooks make. They're eager to get dinner on the table, so they cram the air fryer basket full. While tempting, overcrowding is the nemesis of crispness. When you overcrowd the basket:
- Airflow is Blocked: Food pieces insulate each other, preventing the hot air from circulating freely around individual items.
- Steam Builds Up: Moisture released from the food gets trapped within the dense pile, essentially steaming your food instead of frying it.
- Uneven Cooking: Some parts get blasted with hot air, while others remain shielded and cook poorly or not at all.
Actionable Steps: Optimizing Your Air Fryer Load
- Single Layer Rule: Always arrange your food in a single layer. This ensures maximum surface area exposure to the hot circulating air.
- Leave Breathing Room: Don't let pieces touch. Aim for a small gap between each item to allow air to flow completely around them.
- Work in Batches: If you have a large quantity of food, cook it in multiple smaller batches. It takes a little longer, but the quality difference is night and day. Patience here is truly a virtue.
- Shake and Flip: Even with proper spacing, it's crucial to shake the basket or flip the food halfway through cooking. This promotes even browning and helps dislodge any moisture that might accumulate on the bottom surface.
Expert Insight: "The air fryer's magic isn't in its speed, but in its ability to harness extreme convection. Overcrowding suffocates that magic, turning a crisping machine into a steamer."
Imagine trying to dry your hair with a hairdryer pointed at a tangled mess – the air can't get through. Your air fryer works similarly. Give your food space, and it will reward you with unparalleled crispness.

Moisture Management: The Enemy of Crisp
Moisture is the single biggest barrier to achieving crispiness in any cooking method, and the air fryer is no exception. While the air fryer is designed to strip moisture, it can only do so much if the food starts out too wet or if internal moisture escapes too rapidly without proper surface treatment.
Pre-Drying and Patting Down: A Critical First Step
Many 'easy' recipes skip this vital step, assuming the air fryer will handle everything. But if the surface of your food is wet, the air fryer must first evaporate that surface moisture before any browning or crisping can begin. This extends cooking time and often results in a less crispy, tougher exterior.
My recommendation: Always pat down ingredients like chicken wings, vegetables, or even pre-cut potatoes with paper towels until they are as dry as possible. This removes excess surface water, allowing the Maillard reaction to kick in almost immediately, leading to a faster, crispier result.
The Right Amount of Oil: A Delicate Balance
Oil plays a crucial role in air frying, not just for flavor, but for promoting browning and crispness. It acts as a heat conductor, helping to transfer the hot air's energy directly to the food's surface. However, too much oil can lead to a greasy, rather than crispy, result, and too little can leave food dry and lacking that golden finish.
The key is a light, even coating. A mister or a brush works wonderfully for this. You're aiming for a thin film, not a saturated layer. Different oils also behave differently under high heat due to their smoke points.
| Oil Type | Smoke Point | Best Use |
|---|---|---|
| Avocado Oil | 520°F (270°C) | High-heat air frying, neutral flavor |
| Grapeseed Oil | 420°F (215°C) | General air frying, light flavor |
| Canola Oil | 400°F (204°C) | Economical, neutral, general use |
| Olive Oil (Extra Virgin) | 375°F (190°C) | Lower temp air frying, finishing – avoid high heat |
Actionable Steps: Masterful Moisture & Oil Application
- Thoroughly Dry Ingredients: Before seasoning or oiling, use paper towels to remove as much surface moisture as possible.
- Light & Even Oil Application: Use a spray bottle or brush to apply a thin, even layer of high smoke point oil. Don't drench your food.
- Season Strategically: Apply seasonings after oiling. The oil helps the seasonings adhere and distribute evenly, contributing to a better crust.
- Consider a Starch Dusting: For certain foods like potatoes or chicken, a very light dusting of cornstarch or baking powder (mixed with flour) can significantly enhance crispness by absorbing surface moisture and creating a more robust crust.
By controlling moisture from the outset and using oil judiciously, you create the perfect conditions for your air fryer to work its crisping magic.
Temperature and Time: Precision is Key
The air fryer's effectiveness is profoundly tied to precise temperature control and understanding the optimal cooking duration. Many 'easy air fryer' recipes offer broad temperature ranges and times, but achieving professional crispness demands a more nuanced approach.
Preheating: Don't Skip It!
Just as you wouldn't put a cake into a cold oven, your air fryer needs to be preheated. Preheating ensures that the moment your food enters the basket, it's immediately hit with the target temperature, initiating the crisping process without delay. A cold start means the food slowly heats up, spending more time steaming in its own juices before the crisping can even begin.
I recommend preheating your air fryer for at least 3-5 minutes at the desired cooking temperature. This quick step makes a significant difference in the final texture.
Finding the Sweet Spot: High Heat, Shorter Time
For most foods you want to crisp, a higher temperature for a shorter duration is often more effective than a moderate temperature for a longer time. High heat rapidly evaporates surface moisture and promotes quick browning. If the temperature is too low, the food will dry out internally before it can crisp externally.
However, this isn't a blanket rule. Denser foods, like a whole chicken, might require a lower initial temperature to cook through, followed by a blast of high heat at the end for crisping. Understanding your food's composition is key.
Case Study: How Crispy Innovations Inc. Mastered Air Fryer Fries
Crispy Innovations Inc., a fictional food tech startup, struggled with their frozen air fryer fries consistently turning out soggy. Their initial 'easy recipe' called for 350°F (175°C) for 20 minutes. By implementing my advice:
- They preheated the air fryer to 400°F (200°C) for 5 minutes.
- They reduced the batch size, ensuring a single layer of fries.
- They increased the cooking temperature to 400°F (200°C) and reduced the time to 12-15 minutes, shaking the basket every 5 minutes.
The result? Fries that were consistently golden, fluffy on the inside, and shatteringly crispy on the outside. This small adjustment in temperature and time, combined with proper loading, transformed their product, demonstrating the power of precision.
Expert Insight: "Temperature is not just about cooking through; it's about dictating the rate of moisture loss and crust formation. A few degrees can be the difference between crispy and chewy."
Always use a reliable instant-read thermometer to check internal temperatures for doneness, especially with meats, ensuring they are safe to eat without overcooking them to achieve crispness. This balance is crucial for both food safety and quality.

The Coating Conundrum: From Breading to Batter
When it comes to coatings, not all are created equal in the air fryer. Many traditional deep-frying coatings, particularly wet batters, simply don't translate well to the air fryer environment. Understanding the right type of coating is crucial for achieving that desired crisp texture.
The Best Breading for Air Fryers
The air fryer thrives on dry coatings. These coatings provide a porous surface that allows the hot air to interact directly with the food, facilitating rapid moisture evaporation and crisping. Think:
- Fine Breadcrumbs: Panko breadcrumbs are excellent due to their flaky, airy texture, which crisps beautifully.
- Flour-Based Coatings: A light dusting of seasoned flour, sometimes mixed with a bit of cornstarch or baking powder, can create a wonderfully crispy skin on chicken or fish.
- Crushed Cereal/Crackers: For unique textures, finely crushed cornflakes or savory crackers can add a fantastic crunch.
The key is that the coating must be relatively dry and adhere well to the food. A light spritz of oil over the coated food can further enhance browning and crispness.
Why Wet Batters Fail in the Air Fryer
Wet batters, like those used for tempura or traditional fish and chips, are designed for submersion in hot oil. The oil instantly cooks and sets the batter, creating a crisp shell. In an air fryer, without the direct contact with hot oil, wet batters tend to:
- Drip and Make a Mess: The batter can drip through the basket before it has a chance to set, creating a sticky mess.
- Become Gummy: Instead of crisping, the batter often turns into a soft, gummy, and unappetizing layer.
- Prevent Browning: The moisture in the batter inhibits the Maillard reaction, leading to pale, unappetizing results.
If you absolutely must use a wet batter, consider par-frying it lightly in a pan first to set the crust, then finishing it in the air fryer. However, for true air fryer crispness, dry coatings are almost always the superior choice.
For more detailed insights into the science of coatings and browning, I highly recommend exploring resources from culinary science experts. For instance, Serious Eats often provides excellent articles on the topic.
Actionable Steps: Perfecting Your Air Fryer Coatings
- Choose Dry & Adherent Coatings: Opt for breadcrumbs (especially Panko), seasoned flour, or fine cornmeal.
- Ensure Good Adhesion: For best results, use a three-step breading process: dredge in flour, dip in egg wash (or milk/buttermilk), then coat thoroughly in breadcrumbs.
- Light Oil Spritz: After coating, lightly mist the entire surface with a high smoke point oil. This aids in browning and prevents the coating from drying out too much.
- Pre-freeze for Delicate Coatings: For very delicate coatings, a quick 15-30 minute freeze after coating can help them set and prevent them from falling off during air frying.
By selecting the right coating and applying it correctly, you'll ensure that your air-fried dishes develop a beautiful, golden, and incredibly crispy exterior every time.
Post-Cooking Protocol: The Crucial Resting Phase
The journey to professional crispness doesn't end when the air fryer beeps. What you do immediately after cooking is almost as important as the cooking process itself. Many cooks eagerly transfer their hot, seemingly crispy food directly onto a plate, only to find it quickly loses its crunch. This is a common mistake that undermines all your efforts.
Why Resting Matters for Crispness
When food comes out of the air fryer, it's still actively releasing steam. If it's placed directly onto a solid plate, that steam gets trapped underneath, creating condensation. This moisture then re-saturates the crispy crust you've worked so hard to achieve, turning it soggy.
Resting on a wire rack allows for continuous airflow around the food, preventing steam from getting trapped. This not only preserves crispness but also allows for carryover cooking, ensuring that internal temperatures equalize and juices redistribute, leading to a more tender and flavorful result.
The Cooling Rack Advantage
A simple wire cooling rack, elevated over a baking sheet, is your best friend for maintaining crispness. It's an inexpensive tool that yields professional results.
Actionable Steps: Your Post-Frying Checklist
- Immediate Transfer to a Wire Rack: As soon as your food is done, use tongs or a spatula to carefully transfer it from the air fryer basket to a wire cooling rack.
- Allow for Air Circulation: Ensure there's space beneath the rack for air to circulate freely. The baking sheet below catches any drips.
- Brief Resting Period: For most air-fried foods like fries, chicken nuggets, or even vegetables, a resting period of 2-5 minutes is ideal. This allows any residual steam to dissipate and the exterior to 'set' its crispness. For larger items like chicken breasts, a longer rest (5-10 minutes) is beneficial for juiciness.
- Serve Promptly: While resting helps, air-fried foods are best enjoyed immediately after their brief rest. The longer they sit, even on a rack, the more likely they are to soften.
This simple step, often overlooked in the rush to serve, is a game-changer for preserving that coveted, hard-earned crispiness.

Air Fryer Maintenance: A Clean Machine is a Crispy Machine
It might seem unrelated, but the cleanliness of your air fryer significantly impacts its performance, especially when it comes to achieving consistent crispness. A dirty air fryer can impede airflow, affect cooking efficiency, and even impart off-flavors to your food.
Basket Cleanliness and Airflow
Over time, grease and food particles can accumulate on the basket, tray, and even the heating element. This buildup can:
- Block Vents: Grease can clog the mesh or perforations in the basket, reducing critical airflow.
- Affect Heat Distribution: Dirty surfaces can absorb or reflect heat differently, leading to uneven cooking and crisping.
- Create Smoke: Old, burnt-on grease can smoke during cooking, affecting the taste and potentially making your food less pleasant.
A clean air fryer is one that can circulate air optimally, ensuring that every piece of food receives the necessary heat for crisping.
Actionable Steps: Keeping Your Air Fryer Pristine
- Clean After Every Use: Wash the basket and tray with warm, soapy water after each use. For stubborn grease, soak them for a bit.
- Wipe Down the Interior: Use a damp cloth to wipe down the interior cavity of the air fryer, especially the heating element, once it's completely cooled.
- Deep Clean Periodically: Every few weeks, or as needed, perform a deeper clean. You can use a soft brush to gently scrub the heating coil to remove any baked-on residue. Always consult your air fryer's manual for specific cleaning instructions.
- Ensure Complete Drying: Make sure all parts are thoroughly dry before reassembling and using the air fryer again, to prevent moisture-related issues.
For detailed cleaning guides tailored to specific models or general best practices, resources like Good Housekeeping's appliance care section can be very helpful.
Treat your air fryer with care, and it will consistently deliver the crispy, delicious results you crave.
Common Mistakes & How to Avoid Them
Even with the best intentions and an understanding of the science, certain habits can inadvertently sabotage your quest for perfect crispness. Recognizing and correcting these common missteps is crucial for elevating your air frying game.
Not Shaking or Flipping Frequently Enough
As discussed, airflow is paramount. While a single layer is essential, food still benefits from movement. Foods like fries, tater tots, or Brussels sprouts need to be shaken vigorously every 5-7 minutes to ensure all surfaces are exposed to the hot air. Larger items like chicken thighs or fish fillets should be flipped at least once halfway through cooking.
Ignoring Food Type Differences
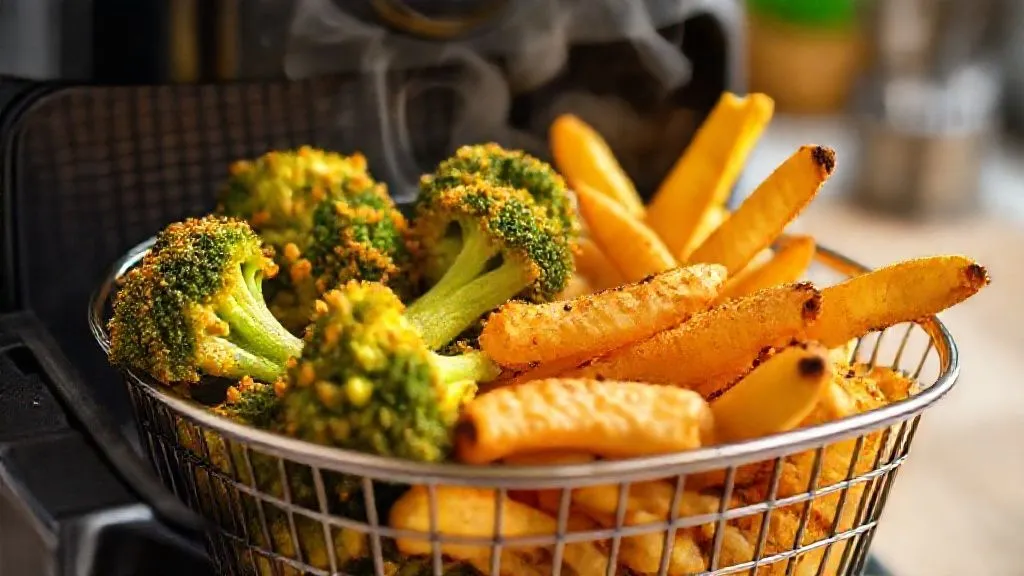
An 'easy air fryer' recipe might suggest one temperature and time for all vegetables, but a dense sweet potato will cook and crisp differently than delicate broccoli florets. Frozen foods, for instance, often require a slightly lower initial temperature to defrost and cook through, followed by a higher temperature to crisp, compared to fresh ingredients.
Always consider the inherent moisture content, density, and size of your ingredients. Adjust temperatures and times accordingly, and don't be afraid to pull out your food when it looks and feels done, rather than strictly adhering to a timer.
Underestimating the Power of a Good Preheat
I cannot stress this enough: a cold air fryer is a recipe for disappointment. The immediate blast of high heat from a preheated unit is what kickstarts the Maillard reaction and prevents food from steaming. Skipping this step means your food spends valuable crisping time just slowly heating up.
Over-Reliance on Generic Recipe Times
While 'easy air fryer' recipes provide a starting point, air fryers vary widely in wattage, size, and efficiency. What works perfectly in one model might need adjustment in another. Use recipe times as a guideline, but always trust your senses: look for golden-brown color, listen for sizzling, and feel for crispness. A thermometer is your best friend for internal doneness.
Expert Insight: "The best air fryer cooks are not just followers of recipes, but keen observers of their food. Learn to read the signs – color, sound, and texture – to dictate true doneness and crispness."
Embrace experimentation within these guidelines. Your air fryer is a tool, and like any tool, mastering it comes with practice and understanding its nuances. For more general air frying tips, you can always refer to reputable culinary sites like Food Network.

Frequently Asked Questions (FAQ)
Question: Can I use parchment paper or aluminum foil in my air fryer to make cleanup easier? While convenient for cleanup, I generally advise caution with parchment paper and aluminum foil. They can significantly impede airflow, which, as we've discussed, is critical for crispness. If you must use them, ensure they are specifically designed for air fryers (with perforations) and always cut them to fit the basket perfectly, leaving plenty of room around the edges for air circulation. Never preheat an air fryer with just parchment paper inside, as it can fly up and hit the heating element, posing a fire risk.
Question: Why does my food get dry instead of crispy sometimes? This often happens when the cooking temperature is too low or the cooking time is too long, or both. If the temperature isn't high enough to quickly create a crispy exterior, the prolonged exposure to circulating hot air will simply dehydrate the food's interior. Ensure you're preheating, using higher temperatures for shorter periods, and applying a light coat of oil to help seal in moisture while crisping the exterior.
Question: Is it better to cook at a higher temperature for less time, or lower temperature for longer time? For most foods you want to be crispy, a higher temperature for a shorter duration is generally preferred. This approach promotes rapid surface browning and moisture evaporation, leading to a crisp exterior before the interior has a chance to dry out. However, for thicker items like a whole chicken, you might start lower to cook through, then finish with a higher temperature blast for the skin. It's about finding the right balance for the specific food.
Question: What's the best approach for air frying frozen foods to get them crispy? Frozen foods require a slightly different strategy. I recommend starting at a slightly lower temperature (e.g., 350°F / 175°C) for the first few minutes to allow them to defrost and begin cooking internally without burning the exterior. Then, increase the temperature to 375-400°F (190-200°C) for the remainder of the cooking time to achieve crispness. Always shake the basket frequently, as frozen items tend to stick together and release more moisture initially.
Question: How do I know if my air fryer is faulty and not crisping properly? If you've meticulously followed all the best practices (proper spacing, preheating, oiling, resting, and cleaning) and your food still consistently lacks crispness, it might be worth checking your appliance. Common signs of a faulty air fryer include significantly longer cooking times than expected, food remaining soggy even with optimal settings, or the fan not circulating air effectively. You can test by cooking a small batch of frozen fries; if they don't crisp up as expected despite perfect technique, consult your manufacturer's troubleshooting guide or contact customer service.
Key Takeaways and Final Thoughts
Achieving professional crispness in your air fryer isn't a mythical quest; it's a science, and a skill that's entirely within your reach. The frustration of asking 'Why do my easy air fryer recipes lack professional crispness?' can finally be put to rest by understanding and applying these core principles:
- Optimize Airflow: Never overcrowd your basket; cook in single layers with space in between.
- Manage Moisture: Pat food dry before cooking and use a light, even coating of high smoke point oil.
- Control Temperature & Time: Always preheat, and often, higher heat for shorter durations yields the best crisp.
- Choose Wisely: Opt for dry coatings over wet batters for superior air-fried texture.
- Rest & Serve: Use a wire rack immediately after cooking to preserve crispness.
- Maintain Your Machine: A clean air fryer performs optimally and ensures consistent results.
By integrating these expert strategies into your air frying routine, you'll move beyond simply 'cooking' and start truly 'mastering' your air fryer. Don't be afraid to experiment, observe, and adjust. With a little practice and attention to these details, you'll consistently produce dishes that boast that irresistible, professional-level crispness, making every meal an absolute delight. Happy air frying!
Recommended Reading
- 5 Expert Strategies: Crucial Exotic Ingredient Unavailable? Adapt Your Menu Now
- Unlocking Culinary Freedom: What Makes an Air Fryer Truly Versatile?
- Prevent Foam Collapse: 7 Advanced Techniques for Stable Culinary Foams
- Dairy-Free Desserts: 5 Pro Methods to Prevent Gritty Texture
- 9 Proven Ways to Halt Rapid Smoothie Separation for Grab-and-Go Success
0 Comentários: