 By
By 
How to get perfectly tender sous vide chicken without mushiness?
For over two decades in the culinary world, particularly as sous vide cooking became accessible to home chefs, I've witnessed a recurring frustration: the elusive quest for perfectly tender chicken without succumbing to an unappetizing mushy texture. It’s a delicate balance, a tightrope walk between succulent and slop, and it's a challenge many face.
The promise of sous vide is unparalleled tenderness and juiciness, but when chicken emerges from the water bath with a texture akin to pâté, it’s not only disappointing but also a waste of perfectly good ingredients. This isn't just a minor misstep; it's a fundamental failure to achieve the very essence of what makes sous vide so revolutionary for poultry.
Through years of experimentation, countless batches of chicken, and guiding thousands of aspiring sous vide enthusiasts, I've distilled the science and art behind achieving that sublime, firm-yet-tender bite every single time. In this definitive guide, I'll share the precise temperatures, timing strategies, and critical techniques that will empower you to consistently create sous vide chicken that is both incredibly tender and delightfully firm, completely free from mushiness.
The Science of Tenderness: Why Sous Vide is Different
To truly understand how to achieve that coveted tender-but-not-mushy texture, we must first appreciate the fundamental science at play with sous vide. Unlike traditional cooking methods that subject food to fluctuating, often high, temperatures, sous vide maintains a precise, consistent temperature, transforming the very structure of the chicken on a molecular level.
This method allows for enzymatic breakdown and collagen conversion to occur gently and thoroughly, without overcooking the delicate muscle fibers. It's this controlled environment that prevents the rapid tightening and moisture expulsion that leads to dry, tough chicken, or conversely, the excessive breakdown that results in mushiness.
Understanding Protein Denaturation and Collagen Breakdown
Chicken meat is primarily composed of muscle fibers (proteins) and connective tissue (collagen). When heat is applied, proteins denature, meaning they unfold and re-coagulate, which causes the meat to firm up and shrink. Collagen, on the other hand, slowly breaks down into gelatin, contributing to juiciness and a desirable tender mouthfeel.
With sous vide, we cook at temperatures low enough to prevent excessive protein denaturation and shrinkage, but long enough for the collagen to convert. The key is finding that sweet spot where proteins firm up just enough, and collagen melts into luscious gelatin, preventing the dreaded mushy texture.
In my experience, the biggest revelation for home cooks is understanding that 'doneness' isn't just about temperature; it's about the interplay of temperature and time, especially for protein transformation.

Precision Temperature: Your First Line of Defense Against Mushiness
Temperature control is paramount in sous vide cooking. Even a degree or two can make a significant difference in the final texture of your chicken. Too low, and you risk undercooked or rubbery chicken; too high, and you step into the territory of mushiness or dryness, especially when extended times are involved.
The goal is to hit a temperature that effectively pasteurizes the chicken for food safety while optimizing for texture. For chicken, this typically means temperatures lower than what you'd use in a conventional oven, but held for a longer duration.
Optimal Temperatures for Different Cuts of Chicken
Different cuts of chicken respond best to slightly different temperature ranges due to their varying fat content and connective tissue. Understanding these nuances is crucial for achieving that perfectly tender sous vide chicken without mushiness.
| Cut | Target Temperature (F) | Target Temperature (C) | Notes |
|---|---|---|---|
| Chicken Breast | 140-145 | 60-63 | Very tender, juicy, slightly pinkish hue, firm texture |
| Chicken Thigh | 150-165 | 65-74 | Rich, succulent, fall-off-the-bone texture, less prone to mushiness |
| Whole Chicken (Parts) | 145-155 | 63-68 | Balance of tenderness across different cuts, requires careful monitoring |
For chicken breasts, I find that 140°F (60°C) to 145°F (63°C) for 1.5 to 2 hours yields an incredibly juicy, tender, and firm result. Anything above 150°F (65°C) for an extended period starts pushing towards a drier, stringier, or even mushy texture as the proteins seize up too much. For thighs, with their higher fat and connective tissue content, a slightly higher range of 150°F (65°C) to 165°F (74°C) for 2-4 hours works wonderfully, breaking down collagen for that rich, succulent feel without becoming mushy.
Always ensure your chosen temperature is maintained accurately by a reliable circulator. Fluctuations are the enemy of consistent texture. For food safety guidelines, I always refer to trusted resources like the USDA Food Safety and Inspection Service.
Time is of the Essence: Avoiding Overcooking (and Undercooking)
While temperature dictates the final 'doneness' and texture, time is equally critical in sous vide. It's not just about reaching a target temperature; it's about holding that temperature long enough for pasteurization to occur and for the desired textural changes to take place.
The mistake many new sous vide users make is thinking 'longer is always better' for tenderness. While longer cook times can break down more connective tissue, there's a point of diminishing returns, especially with lean meats like chicken breast. Beyond a certain point, the muscle fibers can begin to break down excessively, leading directly to mushiness.
The "Pasteurization Window" and Its Implications
The concept of the "pasteurization window" is vital. This is the minimum amount of time required at a given temperature to eliminate harmful bacteria, ensuring your chicken is safe to eat. Once pasteurization is achieved, you have a window of time where the chicken's texture will continue to improve or hold steady before degradation begins.
- Thickness of the chicken: Thicker pieces require more time to reach the core temperature.
- Starting temperature: Frozen chicken will take longer to come up to temp than refrigerated.
- Desired texture: Longer times at lower temperatures can lead to a more delicate texture.
For a standard 1.5-inch thick chicken breast at 145°F (63°C), about 1.5 to 2 hours is sufficient for pasteurization and optimal texture. Going much beyond 3-4 hours at this temperature can start to negatively impact the texture, making it too soft or even mushy. For chicken thighs, due to their higher fat content, they are more forgiving and can handle longer cooks (up to 4-6 hours) without significant textural degradation.
Case Study: The Bistro's Breakthrough in Breast Texture
I recall working with a small bistro, "The Gilded Spoon," which was struggling to standardize their sous vide chicken breast. Their chef, a brilliant but time-crunched individual, was cooking breasts at 148°F (64°C) for a consistent 4 hours, hoping for maximum tenderness. The result? Inconsistent, often mushy, chicken.
By implementing a simple change based on the principles I've outlined – reducing the temperature to 142°F (61°C) and the cook time to a precise 2 hours for their average breast thickness – they achieved a remarkable transformation. Their sous vide chicken breast became famously tender, juicy, and held a beautiful, firm structure. This not only eliminated mushiness but also reduced prep time and ingredient waste, proving that precision in both temperature and time is key to mastering how to get perfectly tender sous vide chicken without mushiness.
Pre-Sear, Post-Sear, or No Sear? The Browning Dilemma
While sous vide delivers unparalleled internal tenderness, it doesn't create the desirable browned crust we associate with delicious cooked chicken. This is where searing comes in. The method and timing of your sear can subtly influence the final perception of texture and flavor.
For chicken, a post-sous vide sear is almost always recommended. A pre-sear can trap flavors, but it also cooks the outer layer twice, potentially leading to dryness. The key is a quick, high-heat sear to develop flavor and color without significantly altering the perfectly cooked interior.
The Art of the Reverse Sear for Sous Vide Chicken
The reverse sear, where the meat is cooked gently first (sous vide) and then seared at high heat, is the gold standard for sous vide chicken. It locks in moisture and creates a fantastic crust.
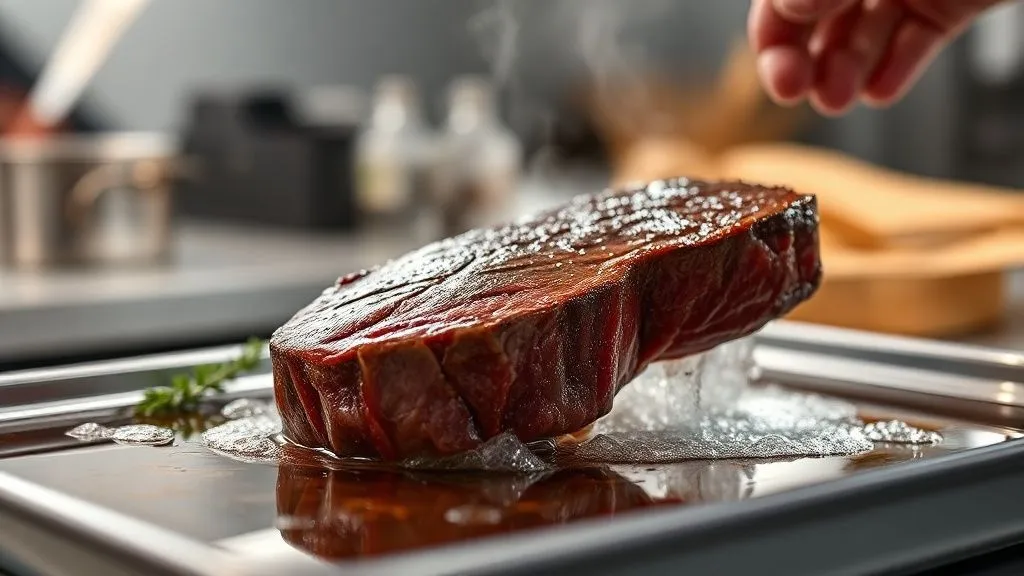
- Pat Dry Thoroughly: After removing the chicken from its sous vide bag, it is absolutely critical to pat it aggressively dry with paper towels. Any surface moisture will steam rather than sear, preventing a crispy crust.
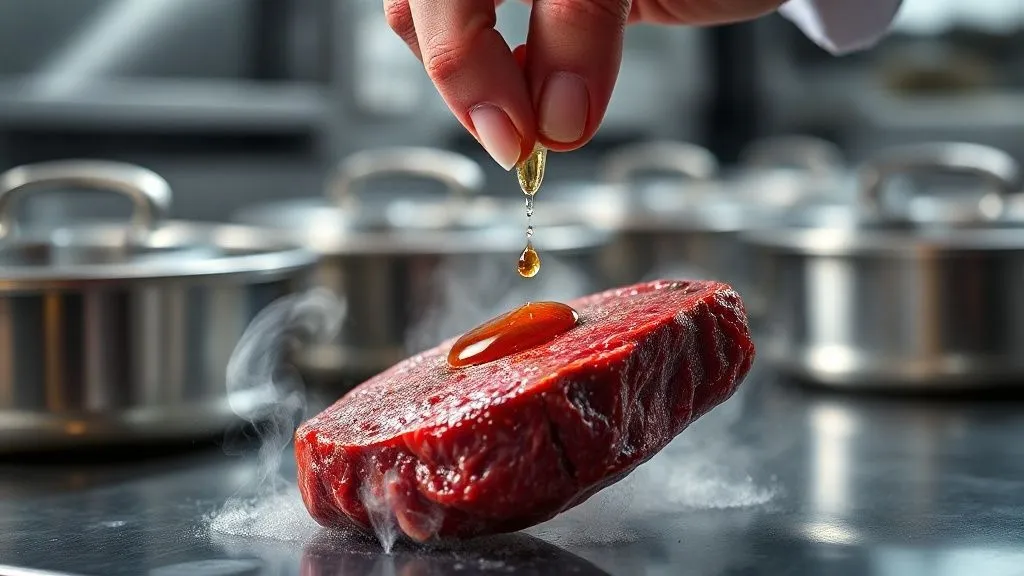
- Preheat Pan to High Heat: Use a cast iron skillet or heavy-bottomed pan. Add a high smoke point oil (like avocado or grapeseed) and heat until it's just smoking.
- Sear Quickly: Place the chicken in the hot pan. Sear for 60-90 seconds per side, until a beautiful golden-brown crust forms. You can also add aromatics like garlic, thyme, or butter during the last 30 seconds for extra flavor.
- Rest Briefly: While sous vide chicken doesn't need a long rest, a minute or two can help the juices redistribute after searing.
This rapid, high-heat sear creates a textural contrast – a crispy, flavorful exterior complementing the tender, juicy interior – which prevents the overall experience from feeling uniformly soft, thus contributing to the perception of firm tenderness rather than mushiness.

Seasoning, Brining, and Marinades: Enhancing Flavor and Texture
While often overlooked in the quest for perfect texture, proper seasoning and preparation before the sous vide bath play a crucial role in the final eating experience. They don't just add flavor; they can subtly influence moisture retention and the perceived tenderness of the chicken.
I always advocate for seasoning your chicken generously inside the vacuum bag. The vacuum seal and the gentle cooking process ensure that flavors are deeply infused into the meat, far beyond what traditional seasoning can achieve.
The Power of a Pre-Sous Vide Brine
Brining is a technique that involves soaking chicken in a saltwater solution before cooking. For sous vide chicken, a short brine (30-60 minutes for breasts, 1-2 hours for thighs) can be incredibly beneficial. The salt helps the muscle fibers retain moisture, leading to a juicier final product. This added moisture also contributes to a more succulent, tender mouthfeel without making the chicken mushy.
When brining sous vide chicken, a simple solution of 1 tablespoon of salt per cup of water is usually sufficient. Avoid over-brining, as it can lead to overly salty or even slightly rubbery chicken.
Marinades: When and How to Use Them
Marinades can also be used, but with caution. Acidic marinades (like those with lemon juice or vinegar) can start to "cook" or denature the chicken's proteins if left for too long, potentially leading to a mealy or mushy texture. If using an acidic marinade, keep the marinating time short (30-60 minutes) or opt for enzyme-based marinades (like those with pineapple or papaya) which also require careful timing.
My preferred approach is to use mostly oil-based marinades with herbs and spices, which infuse flavor without altering the delicate protein structure. Remember, the vacuum seal itself enhances flavor penetration, so less is often more with marinades for sous vide.
The Ice Bath Interruption: Preventing Carryover Cooking
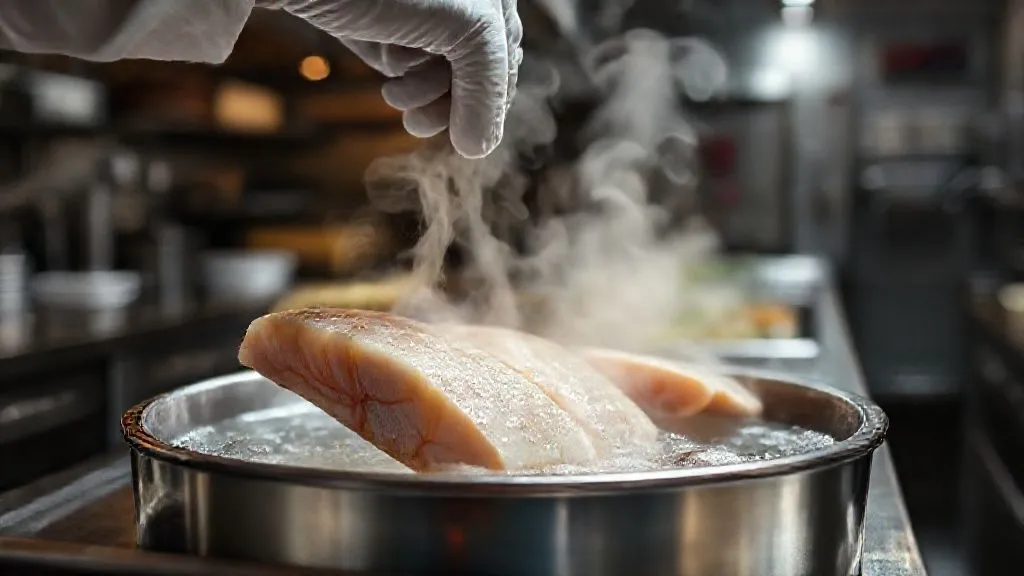
This is a step that many home cooks skip, often to their detriment, especially if they plan to sear their chicken immediately or store it for later. An ice bath is a rapid cooling method that stops the cooking process dead in its tracks.
Why is this so important for how to get perfectly tender sous vide chicken without mushiness? If you take your chicken directly from the hot water bath to a hot searing pan, the internal temperature will continue to rise (carryover cooking), pushing your perfectly cooked chicken into overcooked territory. This can lead to drier meat and, in some cases, a softer, less desirable texture.
Rapid Cooling for Optimal Texture and Food Safety
An ice bath serves two critical purposes:
- Preserves Texture: By rapidly chilling the chicken, you prevent carryover cooking, ensuring the internal temperature and thus the texture you worked so hard to achieve are maintained. This is particularly important for delicate cuts like chicken breast.
- Enhances Searing: A chilled piece of chicken can withstand a more aggressive, longer sear to develop a fantastic crust without the risk of overcooking the interior. The temperature differential between the cold chicken and the hot pan is your friend here.
- Food Safety for Storage: If you're cooking chicken for meal prep, rapidly cooling it in an ice bath to below 40°F (4°C) within a few hours is crucial for food safety before refrigerating or freezing.
After removing the chicken from the sous vide bath, immediately plunge the sealed bag into an ice bath (half ice, half water) for at least 15-20 minutes, or until the chicken is cool to the touch. This simple step is a game-changer for consistently achieving that ideal, firm-yet-tender bite. According to culinary science experts like J. Kenji López-Alt of Serious Eats, rapid chilling is a fundamental technique for superior sous vide results.
Equipment Essentials: Trusting Your Tools
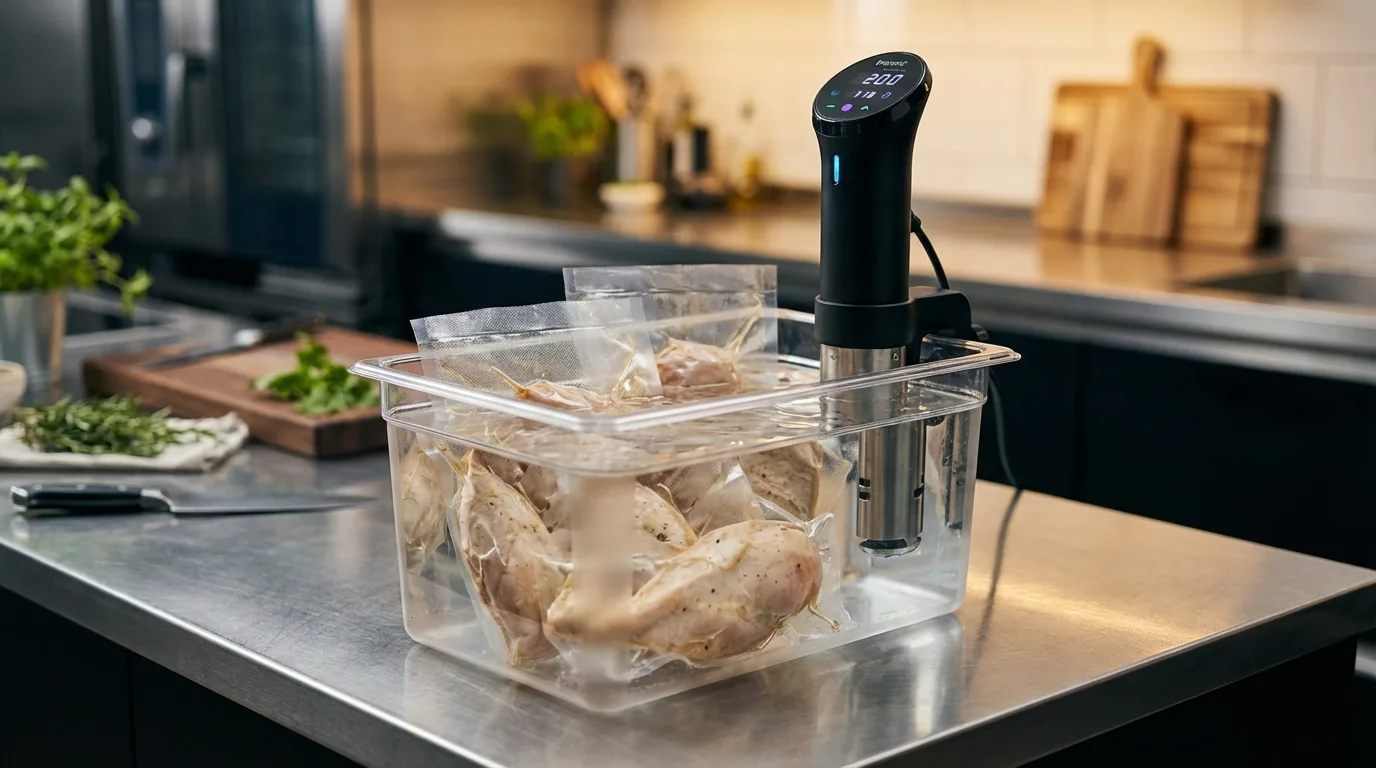
While the principles of temperature and time are universal, the quality and reliability of your sous vide equipment directly impact your ability to execute these principles flawlessly. You can have all the knowledge in the world, but if your tools aren't up to par, consistency will suffer.
I've seen countless instances where an imprecise circulator or a faulty vacuum seal led to frustrating, inconsistent results. Investing in good equipment isn't just about convenience; it's about control, precision, and ultimately, success in your sous vide endeavors.
Precision Circulators and Reliable Vacuum Sealers
Your immersion circulator is the heart of your sous vide setup. It needs to maintain temperature with extreme accuracy (within 0.1-0.5°F or 0.1-0.3°C). Cheaper models can drift, leading to over or undercooking, which directly affects texture. A good circulator ensures that when you set it to 145°F, it actually stays at 145°F.
Equally important is your vacuum sealer. A proper vacuum seal removes air, which is essential for efficient heat transfer from the water bath to the chicken. Air pockets act as insulators, leading to uneven cooking and potentially rubbery or mushy spots. A strong, consistent seal also prevents water ingress, which can dilute flavors and compromise food safety.
Regularly calibrate your immersion circulator if possible, or at least verify its accuracy with a reliable thermometer. A small deviation can mean the difference between perfectly firm and mushy sous vide chicken. For deep dives into the science of cooking and equipment, I often consult resources like Modernist Cuisine.
Troubleshooting Common Sous Vide Chicken Mistakes
Even with the best intentions and techniques, sometimes things go awry. Learning to troubleshoot is a hallmark of an experienced cook. Let's address some common pitfalls when trying to get perfectly tender sous vide chicken without mushiness.
Why is My Chicken Still Mushy?
- Too Long at Temperature: The most common culprit. While sous vide is forgiving, chicken breasts can become mushy if cooked for excessive periods (e.g., over 3-4 hours) at their target temperature.
- Too High Temperature: Even a few degrees too high can accelerate protein breakdown, leading to a softer, mushier texture.
- Poor Quality Chicken: Sometimes, the starting material itself can be the issue. Very young or heavily processed chicken might have a naturally softer texture.
- Lack of Sear/Ice Bath: If the chicken goes directly from bath to plate without a sear or ice bath, the overall soft texture can be perceived as mushy. The sear adds crucial textural contrast.
Why is My Chicken Dry?
- Too High Temperature: While leading to mushiness at extreme durations, higher temps for shorter durations can also squeeze out moisture, making chicken dry.
- Insufficient Fat: Very lean breasts, especially if overcooked, can dry out.
- Improper Sealing: Air pockets in the bag can lead to uneven cooking and dry spots.
- Over-Searing: Searing for too long or at too low a temperature can cook the chicken further, drying out the exterior.
Frequently Asked Questions (FAQ)
Can I sous vide frozen chicken? Yes, absolutely! Sous vide is excellent for cooking from frozen. You'll typically need to add about 50% more time to your cook duration to ensure the chicken reaches its target temperature and is properly pasteurized. For example, if a fresh breast takes 2 hours, a frozen one might take 3 hours. Always ensure your bag is properly sealed to prevent freezer burn and ice crystals.
How long can sous vide chicken stay in the water bath? Once chicken reaches its pasteurization temperature, it can safely stay in the water bath for several hours beyond the minimum required time without compromising food safety. However, for optimal texture, especially with lean chicken breast, I recommend not exceeding 3-4 hours at temperatures below 145°F (63°C) to avoid potential mushiness. Thighs are more forgiving and can go up to 6-8 hours.
Do I need to pat dry sous vide chicken before searing? Yes, this is a non-negotiable step for achieving a proper sear and crust. Any moisture on the surface will create steam when it hits the hot pan, preventing the Maillard reaction (browning) and resulting in a steamed, rather than seared, exterior. Patting dry ensures direct contact with the hot pan for a beautiful, crispy crust.
What's the difference between pasteurization and cooking for tenderness? Pasteurization refers to the process of reducing harmful bacteria to safe levels, which is a function of both temperature and time. Cooking for tenderness refers to the textural changes that occur in the meat's proteins and connective tissues due to heat. With sous vide, we can achieve pasteurization at lower temperatures over longer times, giving us a wider window to optimize for tenderness without overcooking.
Can I use Ziploc bags instead of vacuum sealing? Yes, you can use high-quality, freezer-safe Ziploc bags for sous vide using the "water displacement method." This involves slowly submerging the bag with your chicken into the water bath, allowing the water pressure to push out most of the air before sealing. While not as perfect as a vacuum seal, it's a perfectly viable option for many home cooks.
Key Takeaways and Final Thoughts
Achieving perfectly tender sous vide chicken without mushiness is not a matter of luck, but of precision and understanding. It's about respecting the science of cooking and mastering a few critical techniques.
- Precision Temperature: Stick to 140-145°F (60-63°C) for breasts and 150-165°F (65-74°C) for thighs.
- Mindful Timing: Cook long enough for pasteurization, but not so long that proteins degrade excessively.
- Embrace the Sear & Ice Bath: These steps are crucial for textural contrast and preventing carryover cooking.
- Season Smart: Use brining and careful marinades to enhance flavor and moisture.
- Trust Your Tools: A reliable circulator and vacuum sealer are your best friends.
By integrating these expert insights into your sous vide routine, you'll transform your chicken from merely cooked to culinary perfection. No more mushy mishaps, just consistently tender, juicy, and perfectly textured chicken that will impress every time. Dive in, experiment with confidence, and elevate your sous vide game to a truly professional level.
Recommended Reading
- 7 Proven Strategies: Master Peak Bar Rush & Flawless Cocktails
- Why Do My Fermented Vegetables Get Moldy? The Ultimate Guide to Mold-Free Fermentation
- 7 Pro Steps to Swiftly Fix Over-Salted Dishes in a Professional Kitchen
- 7 Steps to Ultra-Crispy Air Fryer Wings: Juicy Inside, Never Dry!
- Stop Dry Focaccia Delivery: 7 Expert Hacks for Lasting Freshness
0 Comentários: