 By
By 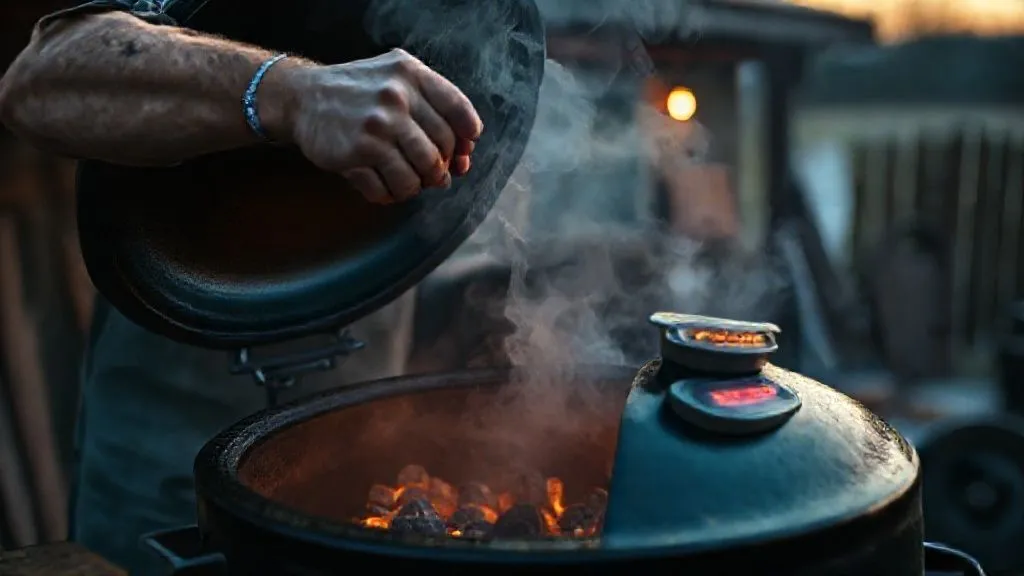
How to Maintain 225°F Charcoal Grill Temp for 12 Hours Consistently?
For over two decades in the world of low-and-slow barbecue, I've witnessed countless aspiring pitmasters grapple with the same elusive challenge: maintaining a rock-solid 225°F on a charcoal grill for extended periods. It's the holy grail for tender brisket, succulent pulled pork, and fall-off-the-bone ribs, yet it often feels more like taming a wild beast than a controlled cooking process.
The frustration is palpable – you set your grill, dial in the vents, and walk away only to return an hour later to find your temperature has either plummeted or soared, jeopardizing hours of preparation and a perfectly good cut of meat. This inconsistency is a common pain point, leading to dry, overcooked, or undercooked results, and ultimately, a disappointing barbecue experience.
But what if I told you that achieving and holding a consistent 225°F for 12 hours on your charcoal grill isn't just possible, but entirely repeatable? In this definitive guide, I'll share the veteran pitmaster's playbook, revealing the actionable techniques, crucial equipment insights, and seasoned wisdom that will transform your grilling game. You'll learn not just 'what' to do, but 'why' it works, empowering you to master your charcoal grill with confidence and precision, ensuring perfectly smoked results every single time.
The Foundation: Understanding Your Grill and Fuel
Before we dive into the intricate dance of vent adjustments and charcoal placement, it's crucial to understand the fundamental tools at your disposal: your grill and your fuel. Think of them as the engine and the gas tank of your low-and-slow operation.
Choosing the Right Grill for Endurance
Not all charcoal grills are created equal when it comes to long-duration, low-temperature cooks. While a standard kettle grill can certainly get the job done, certain designs offer inherent advantages.
- Kettle Grills (e.g., Weber Kettle): These are workhorses and excellent for learning. Their simple design means you have direct control over airflow. The key is understanding their limitations regarding insulation and capacity for charcoal.
- Kamado-Style Grills (e.g., Big Green Egg, Kamado Joe): With their thick ceramic walls, kamados are insulation champions. They excel at maintaining steady temperatures with minimal fuel and adjustments, making them ideal for 12-hour cooks.
- Offset Smokers: Designed specifically for smoking, offsets provide a separate firebox. While fantastic for smoke flavor, they often require more active management to maintain consistent temperatures over long periods due to their larger air volume and metal construction.
- Drum Smokers (e.g., Ugly Drum Smoker - UDS): These offer a great balance of fuel efficiency and capacity. Their vertical design creates excellent convection, making them surprisingly stable once dialed in.
Regardless of your grill type, ensuring it's in good condition – tight-fitting lid, intact gaskets (if applicable), and clear vents – is paramount. Leaks mean uncontrolled airflow, which means unstable temperatures.
The Heart of the Matter: Premium Charcoal Selection
Your fuel choice profoundly impacts burn time and temperature stability. This is not the place to cut corners.
- Lump Charcoal: Made from pure carbonized wood, lump charcoal burns hotter and cleaner, producing less ash. Its irregular shapes can make consistent packing a bit challenging, but high-quality lump offers excellent flavor.
- Briquettes: Uniform in size and shape, briquettes burn more consistently and for longer durations than many lump charcoals, making them a favorite for long cooks. Look for natural briquettes without chemical binders or lighter fluid accelerants. Brands like Kingsford Original (blue bag) are reliable, but be aware of the ash content.
For a 12-hour cook at 225°F, I primarily recommend using high-quality briquettes or a blend of briquettes and larger lump pieces. Their predictable burn rate is a significant advantage.
Mastering the Minion Method and its Variations
The Minion Method, invented by Jim Minion, is the gold standard for long, low-temperature charcoal cooks. It's a strategy that allows a small amount of lit charcoal to slowly ignite unlit charcoal, providing a continuous, steady burn.
The Classic Minion Method: A Step-by-Step Guide
This method is all about controlled, slow ignition.
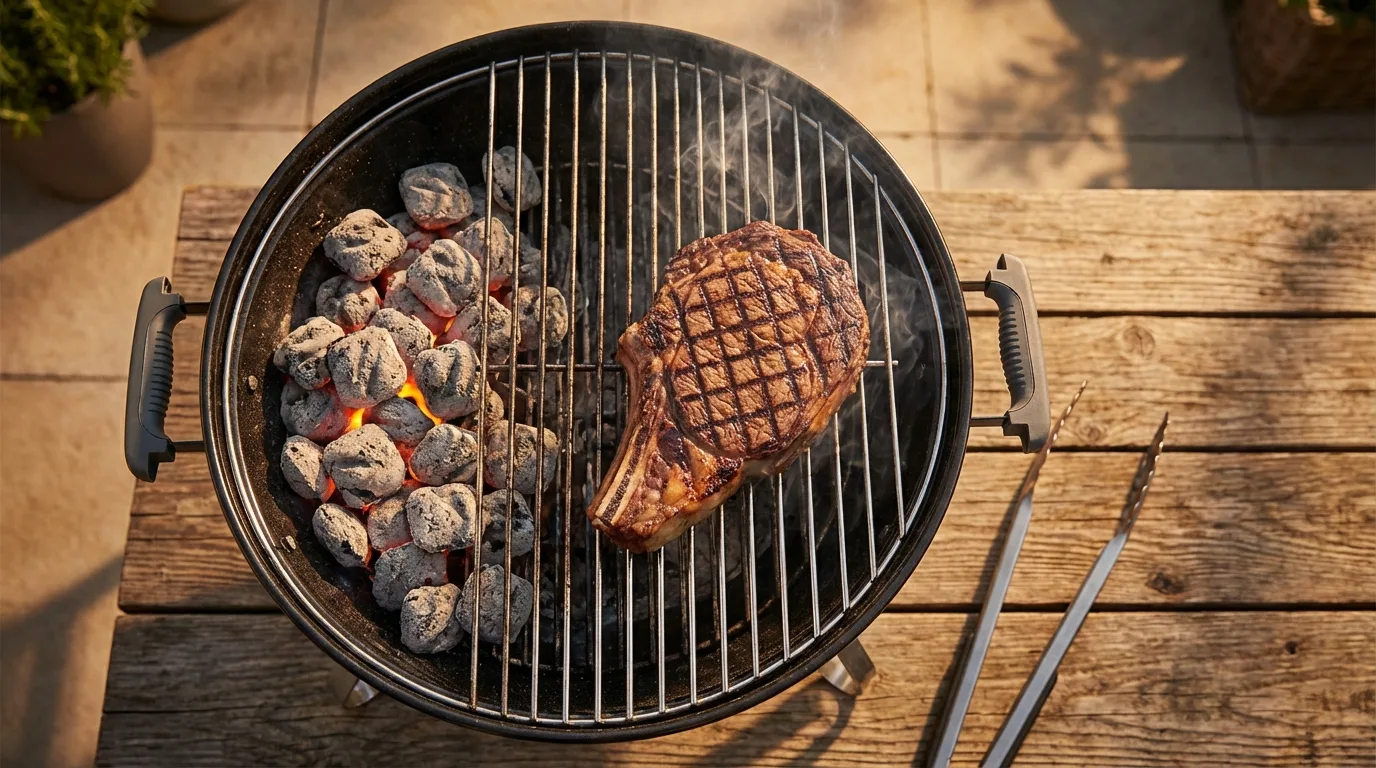
- Prepare Your Charcoal Bed: Arrange a large pile of unlit briquettes (or lump) on one side of your charcoal grate. For a kettle grill, this might be a C-shape around the perimeter or a large mound. Ensure enough space for a water pan on the other side.
- Create a Depression: In the center or at one end of your unlit pile, create a small depression.
- Light a Small Batch: In a chimney starter, light about 10-15 briquettes. Allow them to get fully ash over. This is your starter charge.
- Introduce the Lit Charcoal: Gently pour the lit briquettes into the depression you created in the unlit pile.
- Add Wood Chunks: Place 3-5 small chunks of your preferred smoking wood (pecan, cherry, oak, apple) directly on top of or nestled into the lit briquettes and along the path the burn will follow. Avoid chips, as they burn too quickly.
- Assemble Your Grill: Place your cooking grate, water pan (filled with hot water), and then your lid.

The Snake Method for Smaller Grills
A variation of the Minion Method, the Snake Method (also known as the 'fuse' method) is particularly effective for kettle grills or smaller smokers.
- Lay the Foundation: Arrange two rows of unlit briquettes side-by-side around the perimeter of your charcoal grate, forming a 'snake' or 'C' shape.
- Add a Third Row: Stack a third row of briquettes on top of the first two, creating a three-briquette high wall.
- Place Wood Chunks: Distribute 3-4 small wood chunks along the top of your 'snake' where the lit charcoal will begin its burn.
- Light the Fuse: Light 8-10 briquettes in a chimney starter. Once ash over, place them at one end of your 'snake'.
- Assemble: Place your cooking grate, water pan, and lid.
Expert Insight: The key to both Minion and Snake methods is patience during ignition. Resist the urge to add more lit charcoal. A slow, steady start is crucial for a long, stable burn. Think of it like a slow-burning fuse, not an explosion.
Airflow: The Unsung Hero of Temperature Control
If charcoal is the fuel, then oxygen is the accelerator. Controlling the airflow into and out of your grill is the single most critical factor in maintaining a consistent temperature. It's a delicate balance, and often the biggest hurdle for beginners.
Bottom Vent: Your Primary Temperature Regulator
The bottom vent (or intake vent) is where oxygen enters the grill, feeding your fire. This is your primary control for temperature.
- More Open Vent = More Oxygen = Higher Temperature.
- Less Open Vent = Less Oxygen = Lower Temperature.
For 225°F, you'll typically find your bottom vent nearly closed, often just a sliver open. Small adjustments here make a big difference. Think in terms of millimeters, not inches. If your grill has multiple bottom vents, start with one slightly open and the others fully closed.
Top Vent: Exhaust and Fine-Tuning
The top vent (or exhaust vent) allows hot air and smoke to exit the grill. Crucially, it also creates a draft, pulling fresh oxygen in through the bottom vent. This is why you should almost always keep your top vent fully open during a low-and-slow cook.
- Fully Open: Ensures proper airflow, prevents stale smoke, and helps maintain a clean burn. Restricting the top vent can lead to creosote buildup and bitter-tasting food.
- Minor Adjustments: In very rare cases, if you're struggling to drop temperature even with the bottom vent almost closed, you might slightly restrict the top vent. However, this should be a last resort and done sparingly.
For more in-depth understanding of grill dynamics, I often refer to the excellent resources available from dedicated BBQ communities, such as AmazingRibs.com, which provides scientific breakdowns of heat transfer and airflow in smokers. Learn more about smoker temperature control here.
Initial Setup and Achieving Stability
Getting your grill to 225°F and holding it there requires a methodical approach, not a rushed one. Patience is your most valuable tool.
Igniting Your Charcoal: The Chimney Starter Method
Forget lighter fluid. A chimney starter is the safest, cleanest, and most controlled way to light charcoal.
- Fill with Paper: Crumple newspaper or use a fire starter cube at the bottom of the chimney.
- Add Charcoal: Place 10-15 briquettes on top of the paper (for Minion/Snake method).
- Ignite: Light the paper from the bottom.
- Wait for Ash-Over: Allow the briquettes to burn until they are mostly covered in a light gray ash. This usually takes 15-20 minutes.
Gradual Ascent: Reaching 225°F Slowly
This is where many beginners make a critical mistake: trying to blast the grill up to temperature quickly. Overheating your grill is far harder to correct than underheating it.
- Introduce Lit Charcoal: Once your starter briquettes are ash over, add them to your unlit charcoal arrangement (Minion or Snake).
- Set Vents Initially: Close the lid and set your bottom vent to about 1/4 open and your top vent fully open.
- Monitor Closely: Watch your grill thermometer. As the temperature slowly rises, begin to close your bottom vent in small increments (e.g., 1/8th of the way) as you approach 200°F.
- Dial In: Aim to 'catch' the temperature at 225°F as it rises. You might find your bottom vent is only open a crack, or perhaps 1/8th of the way. This initial dialing-in period might take 45-90 minutes.
Expert Insight: Never overshoot your target temperature. It's much easier to bring a cold grill up to temp than to bring a hot grill down. If you hit 250°F, it can take a very long time for it to stabilize back down to 225°F, burning through precious fuel in the process. Be patient; let the grill slowly climb.
Sustaining the Sweet Spot: Advanced Techniques for 12 Hours
Once you've achieved that stable 225°F, the real art is in maintaining it for the long haul. This involves proactive management and understanding how your grill behaves.
The Water Pan: Moisture, Stability, and Flavor
A water pan is non-negotiable for long, low-temperature cooks. It serves multiple crucial functions:
- Temperature Buffer: The water absorbs and releases heat slowly, helping to stabilize the grill temperature and prevent wild fluctuations.
- Moisture: It adds humidity to the cooking environment, keeping your meat moist and juicy, and preventing the dreaded 'bark' from becoming too dry.
- Flavor Enhancement: While subtle, the steam can help smoke adhere to the meat more effectively.
Always fill your water pan with hot water to avoid dropping the grill temperature when you add it. Monitor the water level during your cook, especially on longer sessions, and top it off with more hot water as needed.

Refueling Strategy: When and How to Add More Charcoal
For a 12-hour cook, you will almost certainly need to refuel. The timing is critical.
- Anticipate: Don't wait until your temperature is plummeting. After 4-6 hours, depending on your setup and fuel, you'll see a gradual decline.
- Pre-heat New Charcoal: Light a small batch of 10-15 briquettes in a separate chimney starter.
- Add to the Burn: Once ash over, carefully open the grill (minimize heat loss!) and add the new lit charcoal to the 'tail end' of your burning charcoal path. Avoid disturbing the existing ash too much.
- Adjust Vents: You may need to slightly open the bottom vent for 15-30 minutes to help the new charcoal catch and bring the temperature back up, then dial it back down.
Case Study: The Overnight Brisket Challenge
Consider the success story of 'Acme BBQ Co.' a small, family-run catering business. Their signature item, a 14-hour smoked brisket, once posed a significant challenge. Their pitmaster, 'Smoky Joe,' struggled with overnight temperature maintenance, often waking to find the grill either too cold or scorching hot. By adopting a rigorous Minion Method setup, using a dedicated water pan, and implementing timed refueling with pre-heated charcoal every 6 hours, they transformed their process.
Smoky Joe created a precise log of his temperature and vent adjustments, realizing that tiny, consistent tweaks were far more effective than large, infrequent ones. This meticulous approach allowed them to consistently hit their target 225°F for 14+ hours, resulting in perfectly rendered briskets that became legendary in their community. Their success highlights the importance of understanding your specific grill and developing a repeatable process.
| Time (Hr) | Temp (°F) | Bottom Vent | Top Vent | Notes |
|---|---|---|---|---|
| 0 | 70 (Start) | 1/4 open | Full open | Lit 15 briquettes, added to Minion pile |
| 1 | 200 | 1/8 open | Full open | Closing vent as temp climbs |
| 2 | 225 | Sliver open | Full open | Stable, added brisket |
| 6 | 220 | Sliver open | Full open | Pre-heated 10 briquettes |
| 6.5 | 230 | Slightly closed | Full open | Added new charcoal, temp spiked briefly |
| 10 | 225 | Sliver open | Full open | Stable, checked water pan |
| 12 | 224 | Sliver open | Full open | Holding steady |
External Factors: Wind, Ambient Temperature, and Grill Location
Your grill doesn't operate in a vacuum. External conditions play a significant role.
- Wind: Wind can act like a bellows, forcing oxygen into your grill and causing temperature spikes. Position your grill in a sheltered spot, or use a windbreak.
- Ambient Temperature: Cooking in winter is inherently harder than in summer. Expect to use slightly more charcoal and potentially keep your vents a tiny bit more open in colder weather.
- Grill Location: Placing your grill against a wall or in a corner can sometimes create dead air pockets or reflect heat, impacting airflow. Experiment to find the sweet spot in your outdoor cooking area.
For colder weather cooks, consider using a welding blanket or specialized grill insulation to help maintain internal temperatures without burning through excessive fuel. Reputable BBQ accessory sites often feature reviews and guides on these products. Explore more BBQ smoking tips.
Monitoring and Adjusting: Your Eyes and Ears on the Grill
You can't manage what you don't measure. Accurate temperature monitoring is non-negotiable for success.
Reliable Thermometers: The Non-Negotiable Tool
The thermometer built into your grill lid is often notoriously inaccurate. Invest in reliable external thermometers.
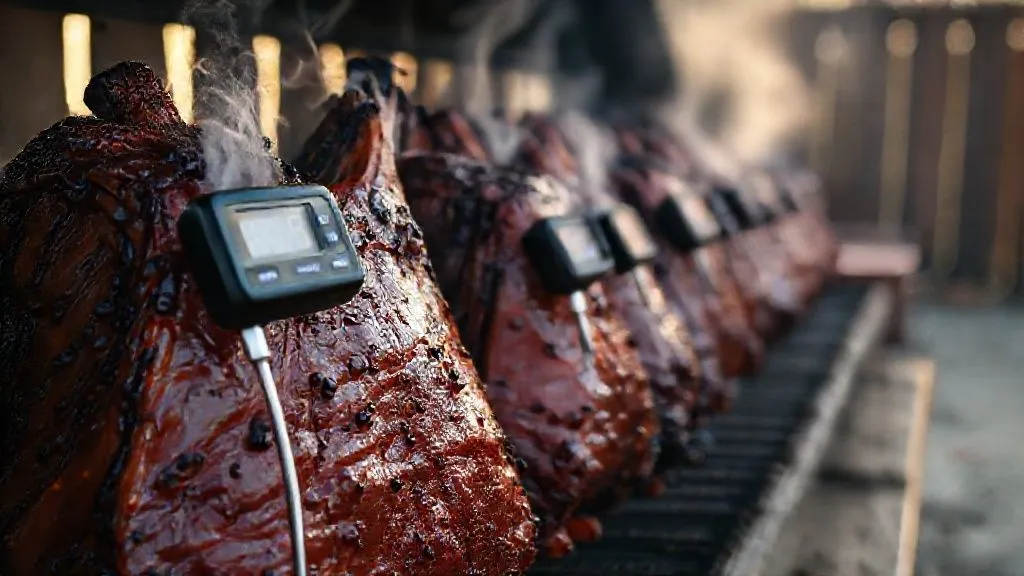
- Dual Probe Thermometer: Essential for long cooks. One probe measures the ambient temperature at grate level (near your food, not in the lid!), and the other monitors the internal temperature of your meat.
- Calibration: Regularly check your thermometers. The ice bath test (32°F/0°C) and boiling water test (212°F/100°C at sea level) are simple ways to ensure accuracy.
Wireless thermometers with app connectivity are a game-changer for 12-hour cooks, allowing you to monitor temperatures from indoors without constantly opening the grill, which causes heat loss and temperature fluctuations.
The Art of Small Adjustments: Patience is Key
Resist the urge to over-adjust. Charcoal grills have a significant thermal lag. A change in your bottom vent won't show an immediate temperature shift; it can take 15-30 minutes to see the full effect.
- Think in Increments: If your temperature is creeping up, close the bottom vent by a tiny fraction. If it's dropping, open it by a tiny fraction.
- Wait and Observe: Give each adjustment time to take effect before making another. Constantly fiddling with the vents will lead to wild temperature swings.
Expert Insight: Your grill is a living thing. Learn its quirks. Does it run hotter on one side? Does a specific wind direction cause issues? The more you cook on it, the more you'll understand its nuances, making temperature control almost intuitive. Trust your instincts, but verify with accurate data.
For reviews and comparisons of the best BBQ thermometers on the market, sites like Serious Eats offer comprehensive guides. Find your ideal thermometer here.
Common Pitfalls and Troubleshooting
Even with the best intentions, things can go awry. Knowing how to diagnose and fix problems quickly can save your cook.
Temperature Spikes and Dips: Diagnosing the Problem
- Temperature Spiking:
- Too Much Air: Bottom vent too open. Close it slightly.
- Too Much Lit Charcoal: You added too much lit charcoal at the start or during refueling.
- Wind: Unshielded grill, wind forcing air in.
- Lid Not Sealed: Gaps allowing uncontrolled oxygen.
- Temperature Dipping:
- Not Enough Air: Bottom vent too closed. Open it slightly.
- Charcoal Running Out: Time to refuel.
- Ash Buildup: Ash suffocating the fire (see next point).
- Lid Opened Too Often: Heat escapes, cold air rushes in.
- Cold Ambient Temp: Grill needs more insulation or slightly more airflow.
Ash Management: Preventing Suffocation
As charcoal burns, it produces ash. If this ash isn't cleared, it will smother your coals, restricting airflow and causing your temperature to drop dramatically.
- Ash Pan: Ensure your ash pan is clean before starting.
- Gentle Agitation: For long cooks, you might need to gently agitate the charcoal grate (if your grill allows) to knock loose ash into the ash pan. Do this carefully and quickly to minimize heat loss.
- Avoid Excessive Shaking: Too much agitation can break up burning coals and spread embers, leading to uncontrolled burning.

| Problem | Cause | Solution |
|---|---|---|
| Temp too high | Too much oxygen / Too much initial lit charcoal / Wind | Close bottom vent slightly / Reduce lit charcoal at start / Shield grill from wind |
| Temp too low | Not enough oxygen / Charcoal running out / Ash buildup / Opening lid too often | Open bottom vent slightly / Refuel with pre-heated charcoal / Clear ash / Minimize lid openings |
| Fluctuating temp | Inconsistent vent adjustments / Leaky lid / Opening lid frequently | Make small, infrequent vent changes / Check lid seal / Use reliable thermometer |
Frequently Asked Questions (FAQ)
Question? How much charcoal do I realistically need to maintain 225°F for 12 hours?
Detailed answer: This depends heavily on your grill type, external conditions, and charcoal brand. As a general rule of thumb for a 22-inch kettle using the Minion Method, you might start with 60-80 briquettes for the unlit pile and an initial 10-15 lit briquettes. For a 12-hour cook, expect to refuel once or twice, adding another 10-15 pre-heated briquettes each time. Kamado grills will use significantly less, potentially needing no refueling at all. Monitoring your first few long cooks will give you the best estimate for your specific setup.
Question? Can I use wood chunks or chips for smoke flavor during such a long cook?
Detailed answer: Absolutely, and you should! For long cooks, always opt for wood chunks over chips. Chips burn too quickly and can create an acrid smoke. Place 3-5 small wood chunks (pecan, cherry, apple, oak, hickory) directly on top of your lit charcoal at the start of the cook. As the burn progresses, the fire will slowly ignite these chunks, providing consistent smoke. Avoid adding too many at once, as excessive smoke can lead to a bitter flavor. You can add more chunks during refueling if desired, but often the initial ones are sufficient.
Question? What if it starts raining or the weather turns cold during my 12-hour smoke?
Detailed answer: Inclement weather is a common challenge. Rain can cool the grill exterior and affect internal temperatures. If possible, move your grill under an awning or use a grill cover that still allows proper ventilation. For cold weather, expect to use slightly more charcoal and potentially keep your bottom vent marginally more open. Insulating your grill with a welding blanket (ensuring it doesn't block vents) can also be highly effective in maintaining heat and fuel efficiency. Always prioritize safety and ensure good ventilation.
Question? How often should I open the lid to check on my meat or charcoal during a 12-hour cook?
Detailed answer: The golden rule of low-and-slow BBQ is: 'If you're looking, you're not cooking.' Every time you lift the lid, you lose valuable heat, and it takes time and fuel for the grill to recover. For a 12-hour cook, aim to open the lid as infrequently as possible. Rely on your reliable dual-probe thermometer for grate temperature and meat internal temperature. Only open the lid to refuel, add more wood (if necessary), or spritz/wrap your meat (if part of your recipe), and do so quickly and efficiently. Ideally, limit lid openings to every 3-4 hours after the initial stabilization.
Question? Are there any specific charcoal brands you recommend for maintaining 225°F for 12 hours consistently?
Detailed answer: For briquettes, Kingsford Original (blue bag) is a widely available and reliable choice for consistent burn time and temperature. For lump charcoal, brands like Jealous Devil, Fogo, or Royal Oak often provide larger, denser pieces that burn longer and cleaner with less ash. However, even within lump charcoal, consistency can vary batch-to-batch. Ultimately, experiment with a few high-quality options to see what performs best in your specific grill and environment. Prioritize brands known for minimal additives and consistent sizing.
Key Takeaways and Final Thoughts
Mastering the art of maintaining a consistent 225°F on your charcoal grill for 12 hours is a journey of patience, precision, and understanding your equipment. It's not about magic, but about applying proven techniques with a methodical approach.
- Understand Your Tools: Choose the right grill and premium fuel for the task.
- Embrace the Minion Method: It's the cornerstone of long, stable burns.
- Control Airflow: Your bottom vent is the throttle; your top vent is the exhaust.
- Patience is Paramount: Allow your grill to come to temperature slowly and make tiny, infrequent adjustments.
- Monitor Religiously: Invest in and trust accurate thermometers.
- Plan for the Long Haul: Incorporate water pans, strategic refueling, and account for external factors.
With these expert-level strategies, you're not just cooking; you're orchestrating a symphony of heat and smoke. Don't be discouraged by initial setbacks; every cook is a learning experience. Embrace the process, trust your setup, and soon you'll be consistently turning out barbecue that earns rave reviews and makes those 12-hour sessions incredibly rewarding. Happy smoking, my friends!

Recommended Reading
- Burnout-Proof Your Plate: Quick, Healthy Meals for Peak Performance
- The Secret to Perfectly Moist & Tender Slow Cooker Chicken Every Time
- Achieving Perfect Pan-Seared Fish Crust for Volume: 7 Pro Secrets
- Achieve Consistent Doneness: High-Volume Gas Grilling Secrets Revealed
- Quick Fix: 5 Steps for Perfectly Cooked Frozen Lobster Tails in a Rush?
0 Comentários: